Can a DIY project truly transform My Home?
The Journey Begins: Anatomy of a Hearth
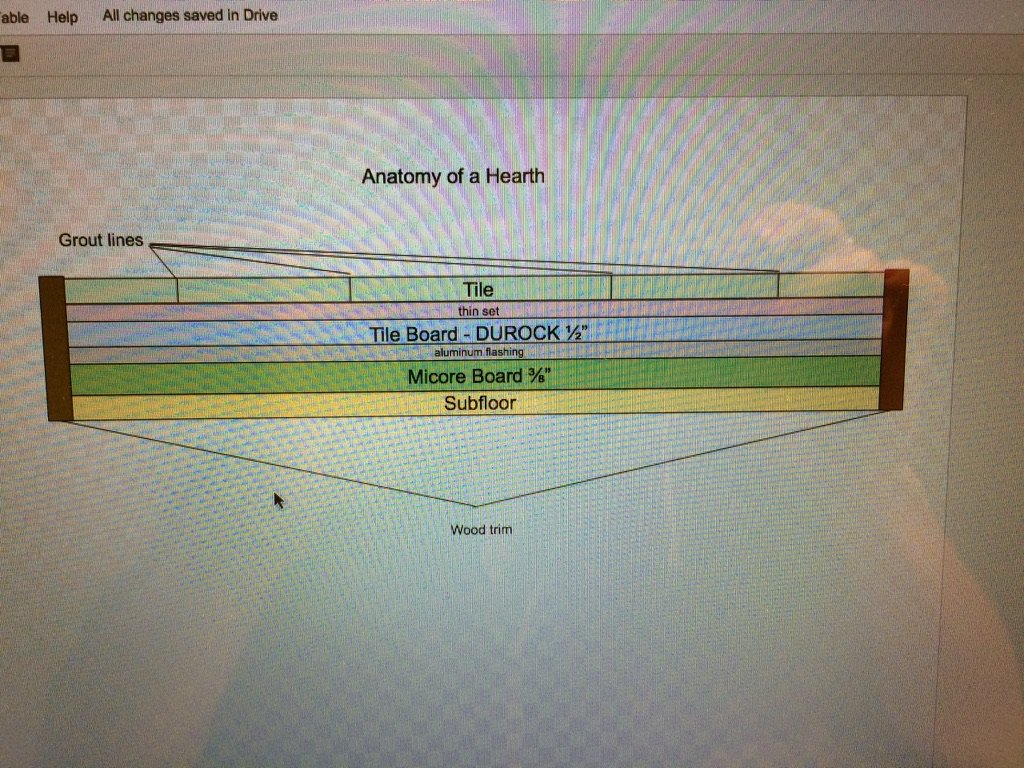
Before I even touched a tool, I dove into understanding the "Anatomy of a Hearth." The diagram (pictured) became my roadmap, breaking down each layer: grout lines, tile, DUROCK board, micore board, subfloor, and wood trim. Each material served a purpose, not just for safety but also for durability and aesthetics. But how would I make this vision a reality?
Gathering Materials: The Puzzle Pieces
Research led me to the right materials, like heat-resistant boards and proper adhesives. Each piece of the puzzle had to fit perfectly, both literally and figuratively. Did you know micore board is an insulator that can withstand high temperatures? Neither did I—until this project. I also learned how grout and thin-set mortar work together to secure tiles. Every detail mattered.
Hands-on Building: Turning Vision into Reality
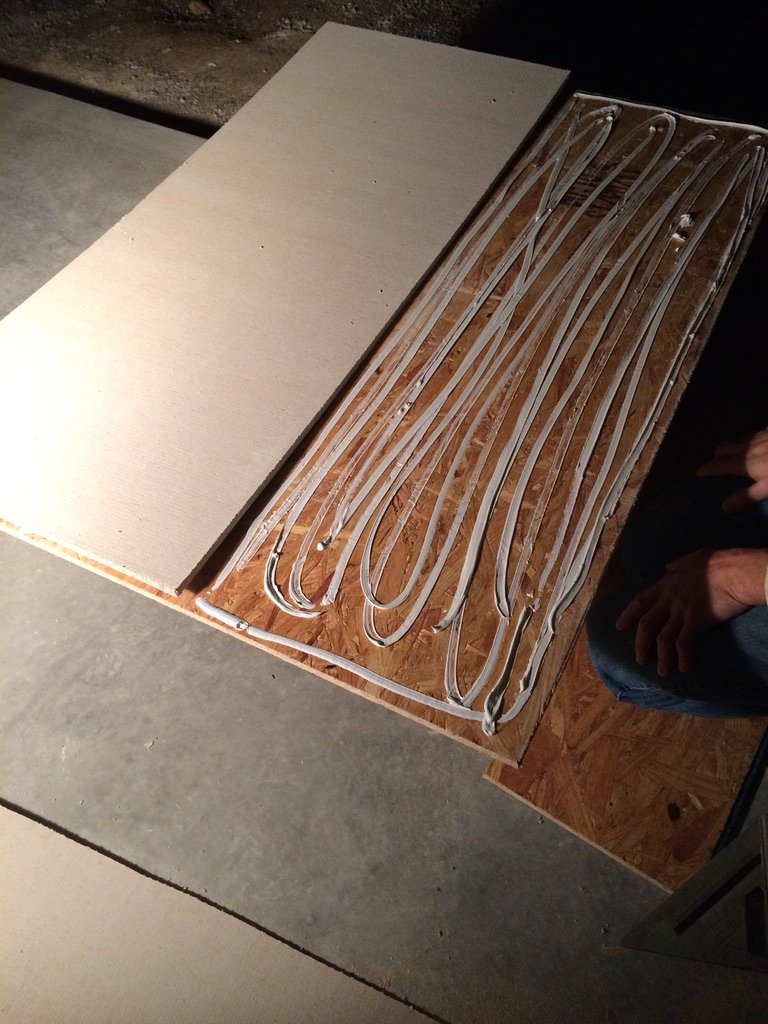
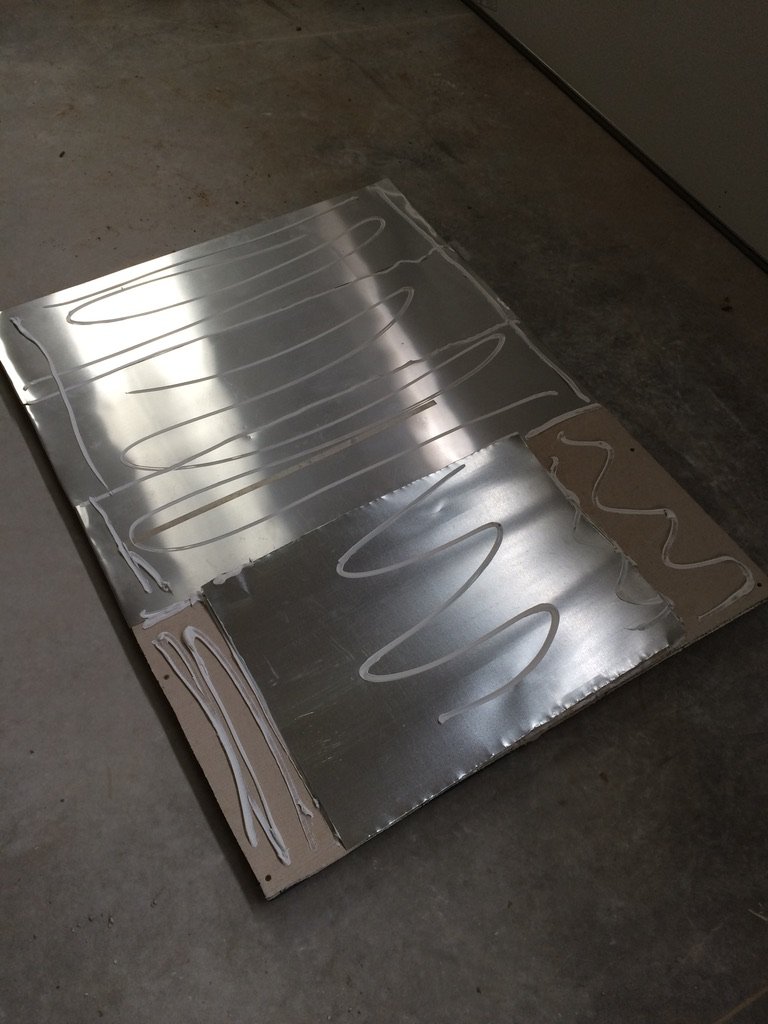
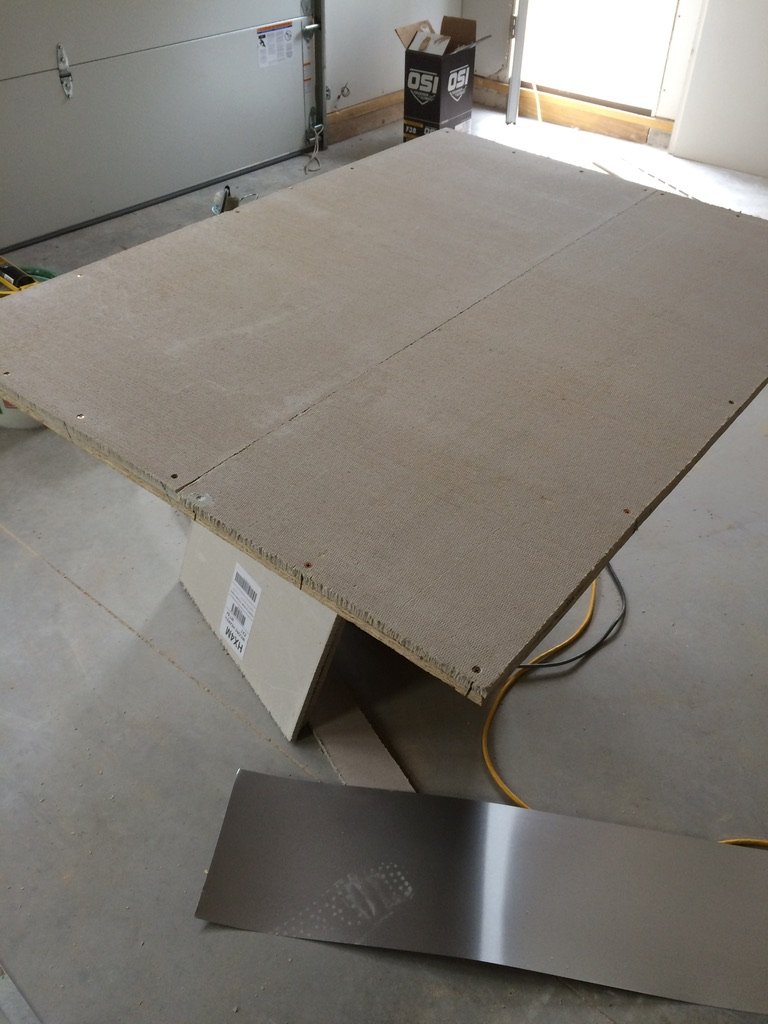
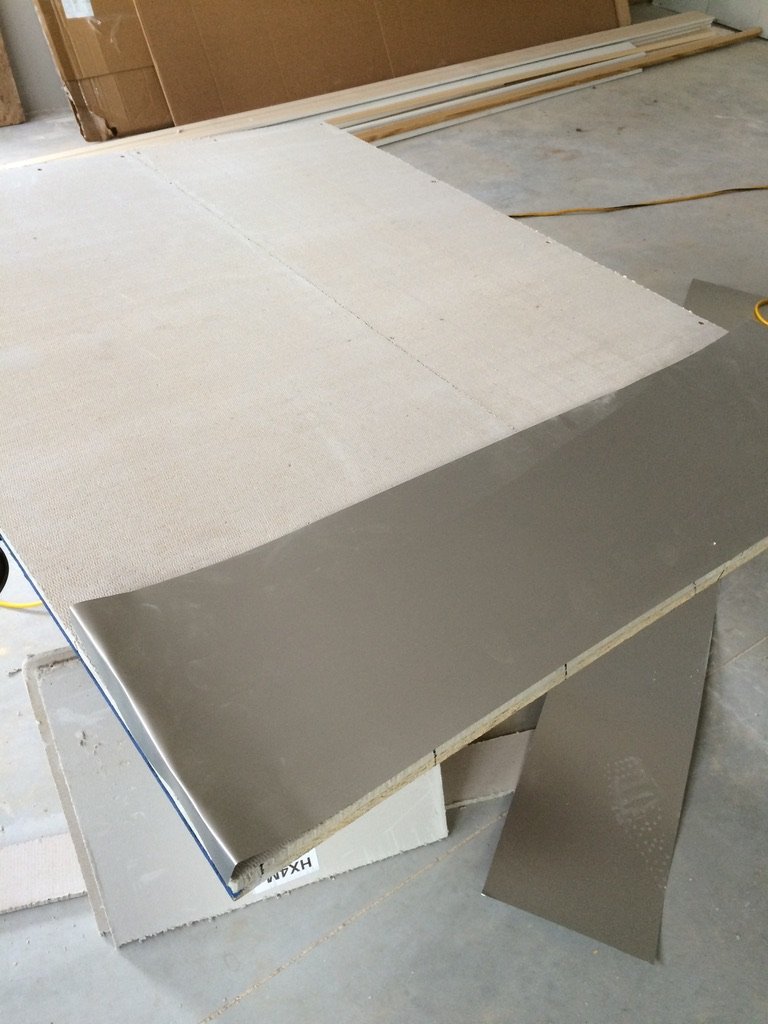
The real fun began when I got to work. First, I laid out the subfloor, measuring and cutting precisely. The photos capture the early stages—watching the pieces come together was immensely satisfying. When applying adhesive to the aluminum flashing, I couldn't help but think, "Will this hold?" But as each layer stacked, I grew more confident. Did you notice the meticulous lines of adhesive? I’d never thought I’d care so much about glue.
The Decorative Finish: Making It Mine
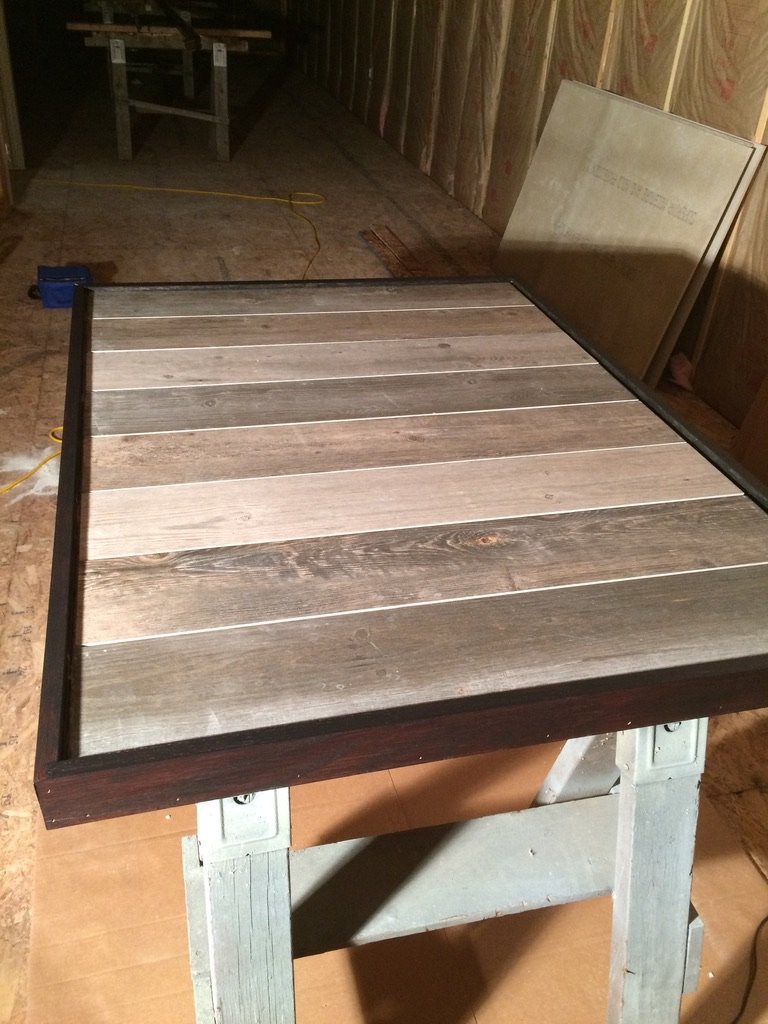
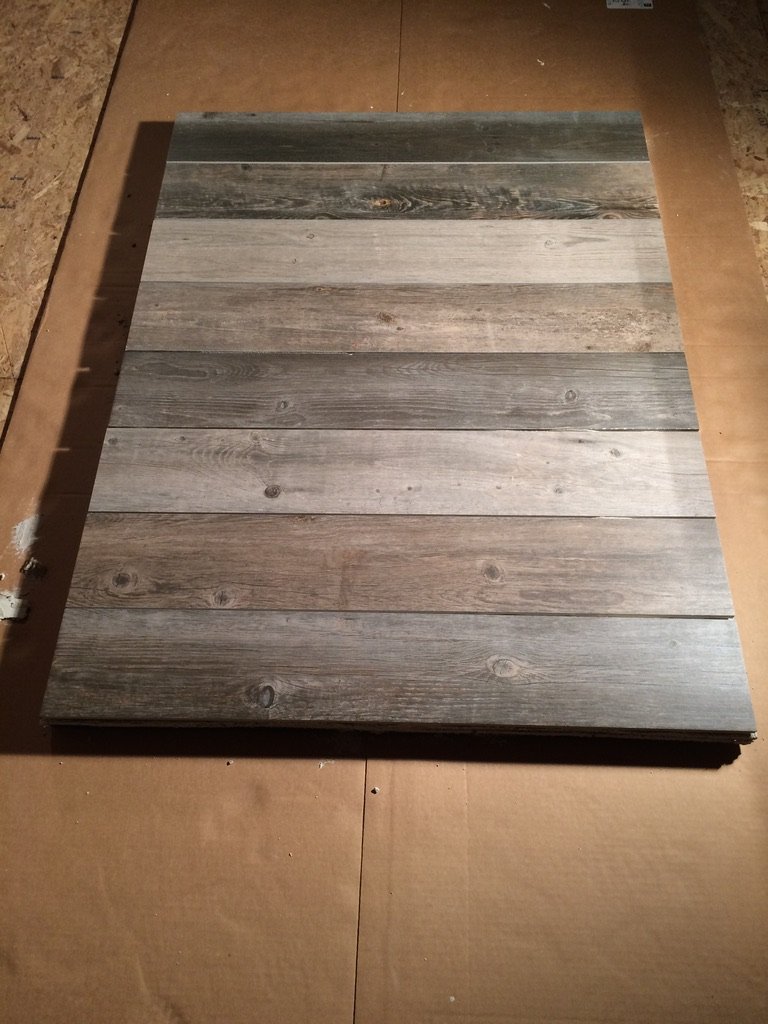
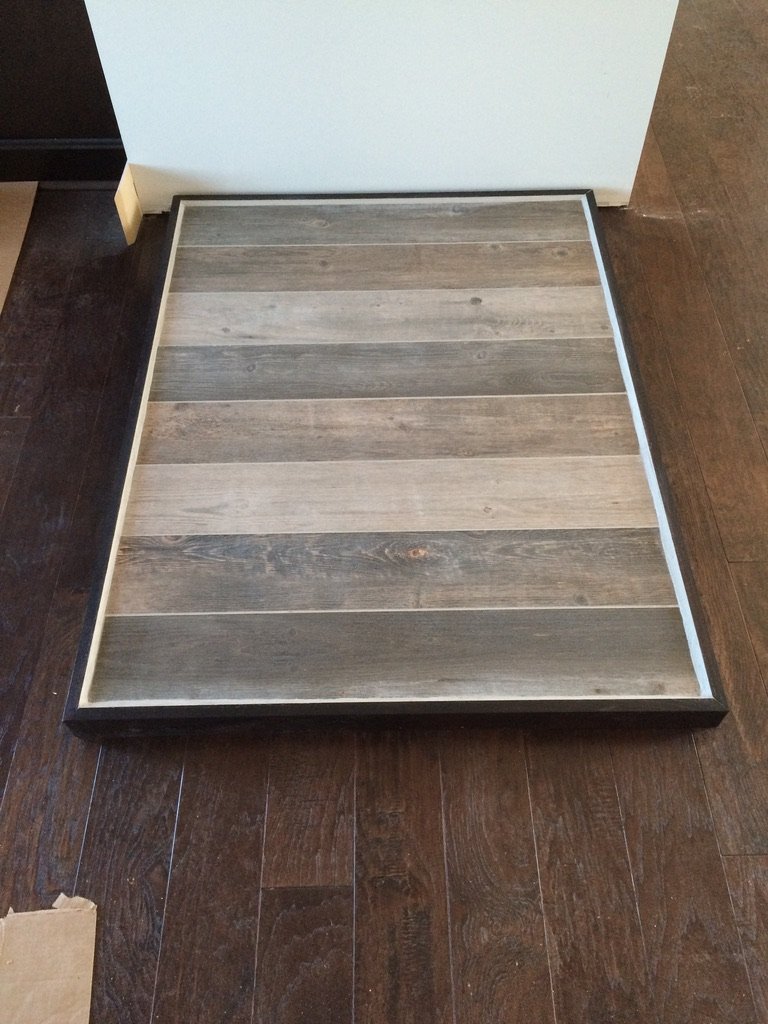
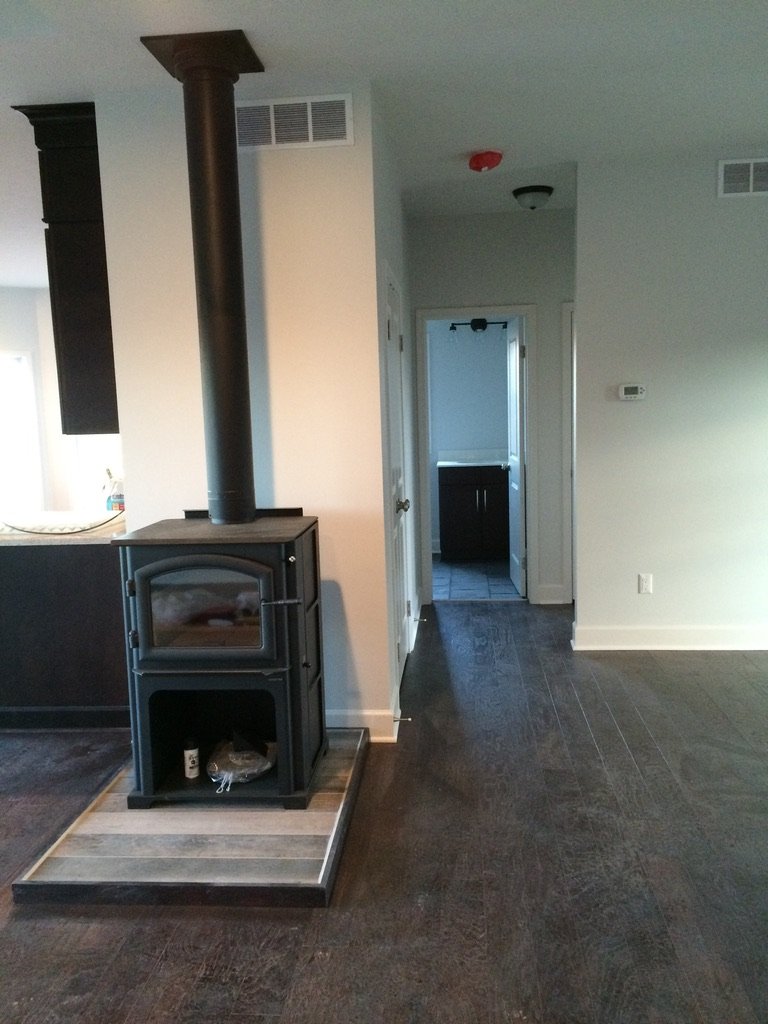
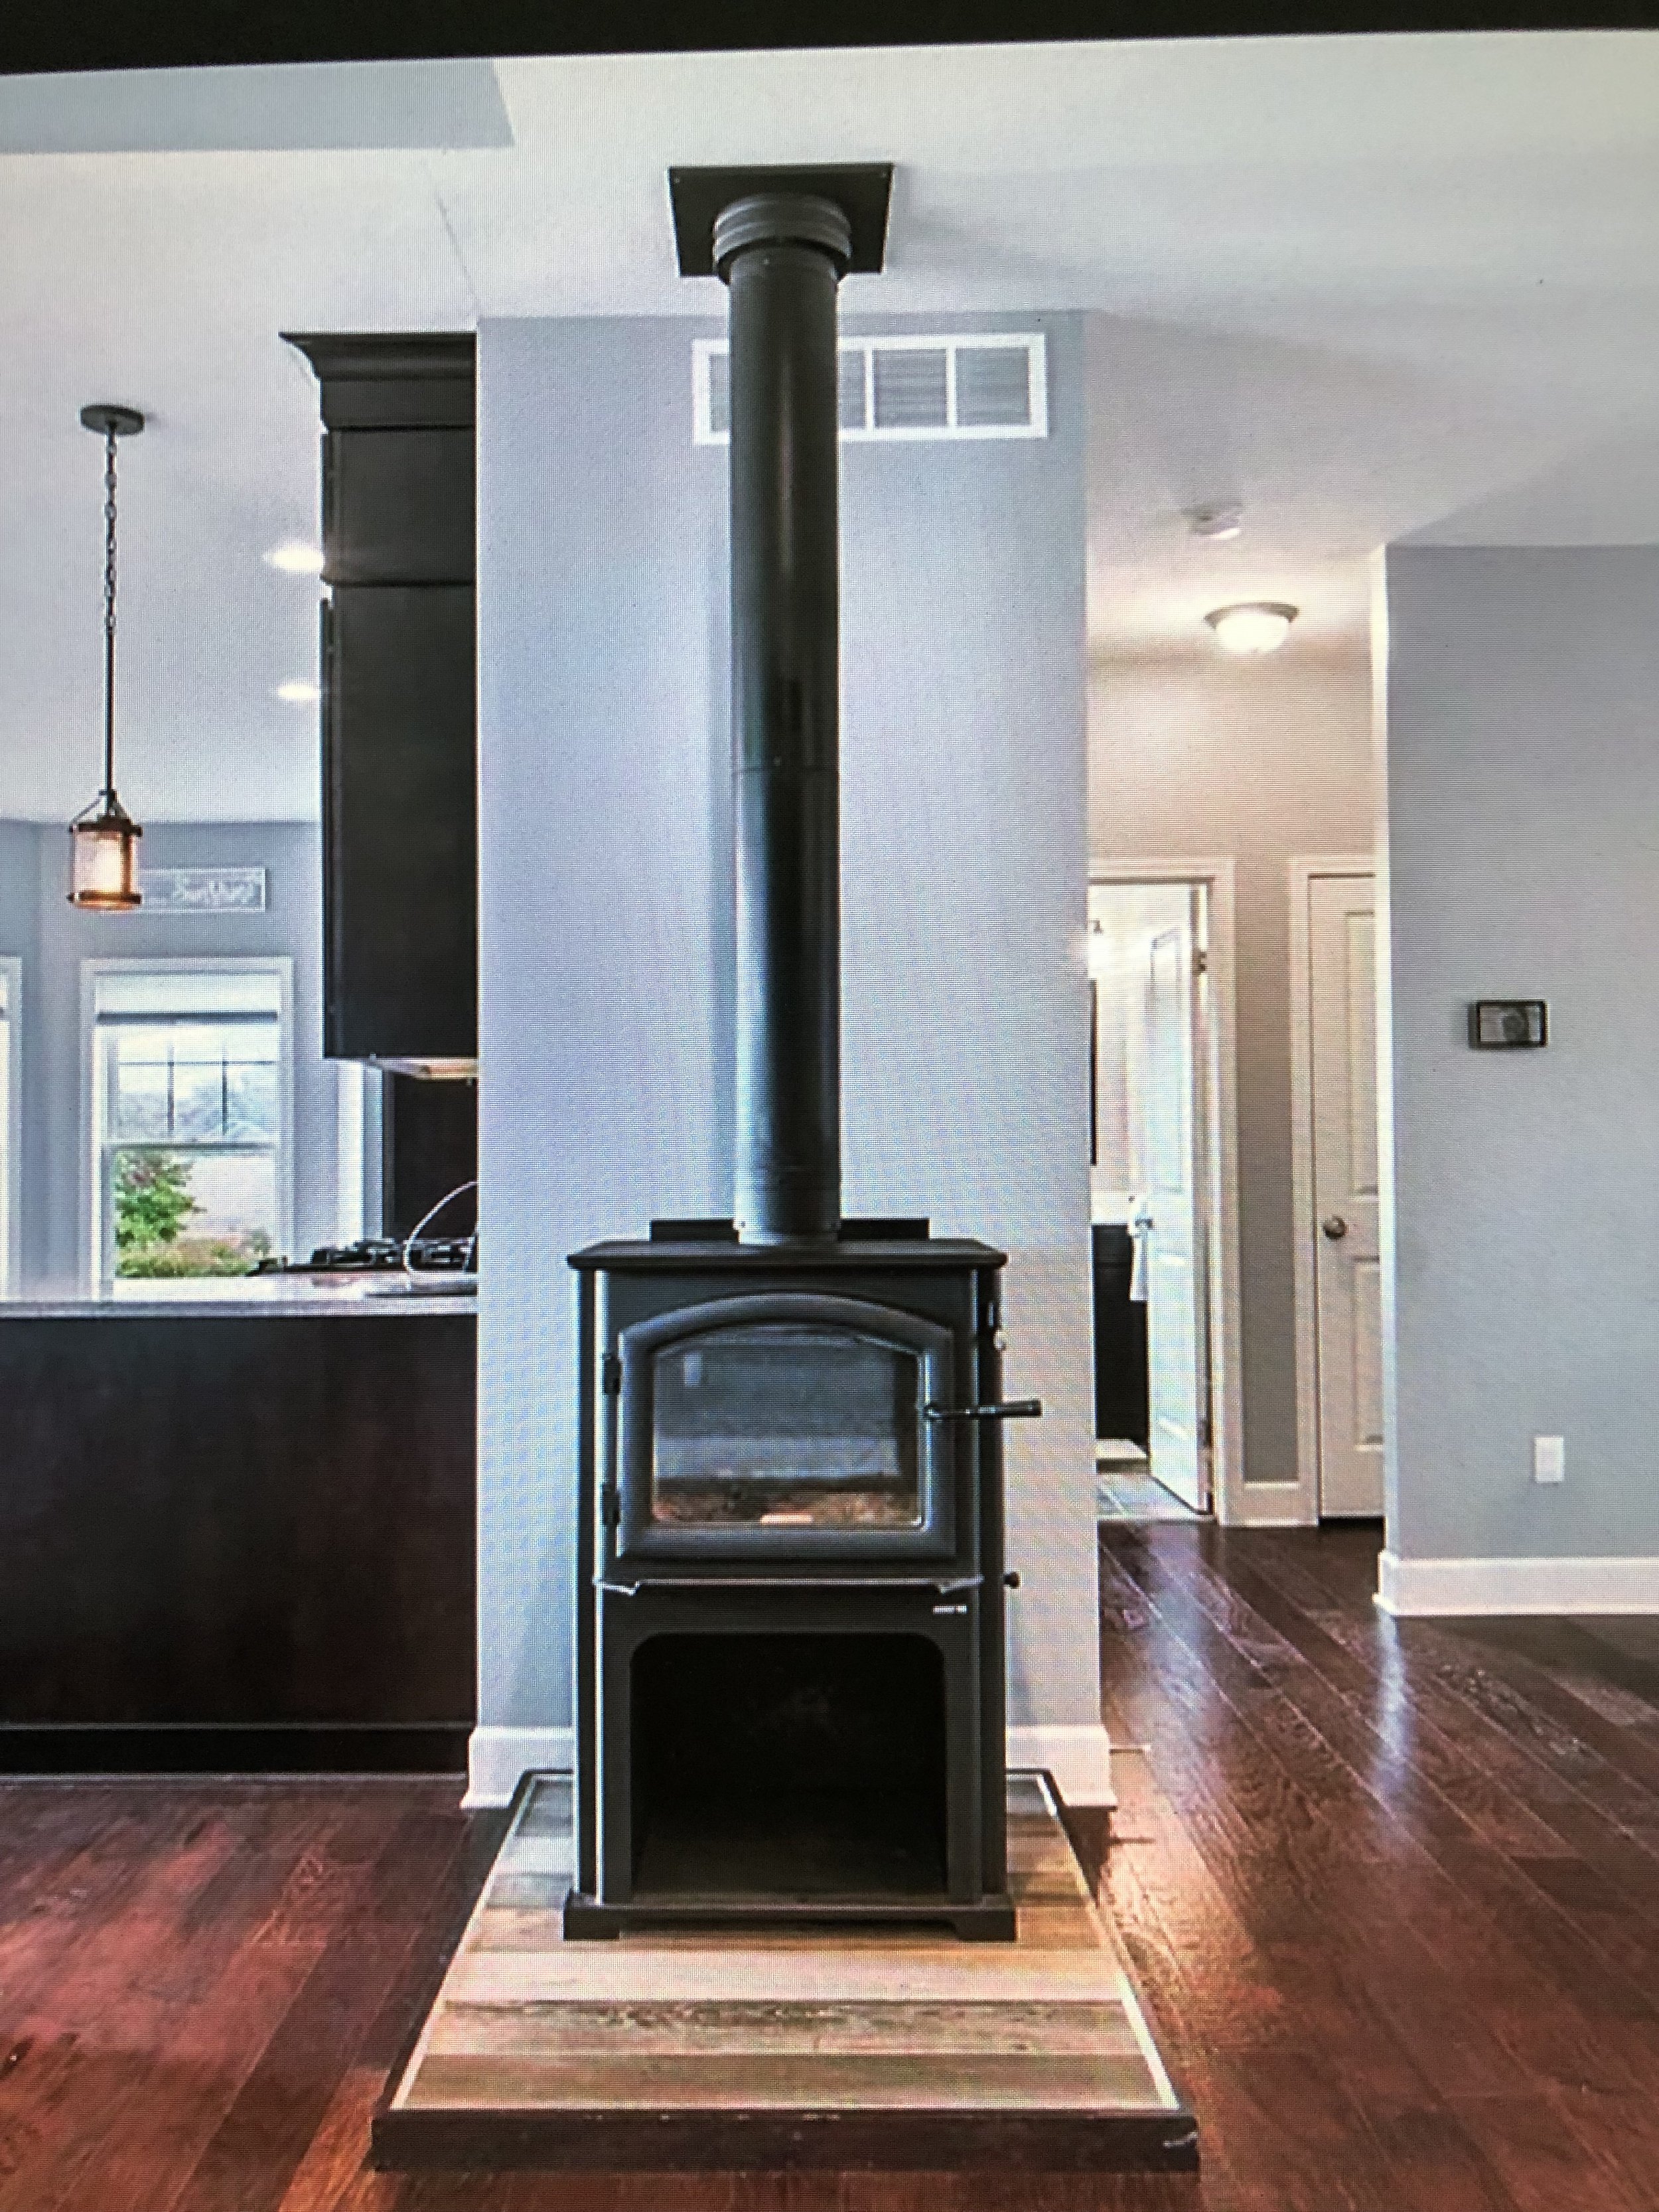
Once the structural layers were in place, it was time for the creative touch. I chose wood-look tile for a rustic feel that complemented the space. Seeing the planks arranged was like building a giant puzzle. The finishing frame gave it that polished, professional look, but it still felt personal. What would you have chosen—tile, stone, or something else?
Reflecting on the Process
As the final hearth sat proudly under the wood stove, I felt a deep sense of accomplishment. It wasn’t perfect, but it was mine—a piece of my home built with my hands. What I learned along the way about materials, craftsmanship, and patience made the journey as rewarding as the result.
If you’ve ever thought about tackling a home project, start with research and dive in. You might surprise yourself! Have you ever taken on a project like this?
What would you do differently?
